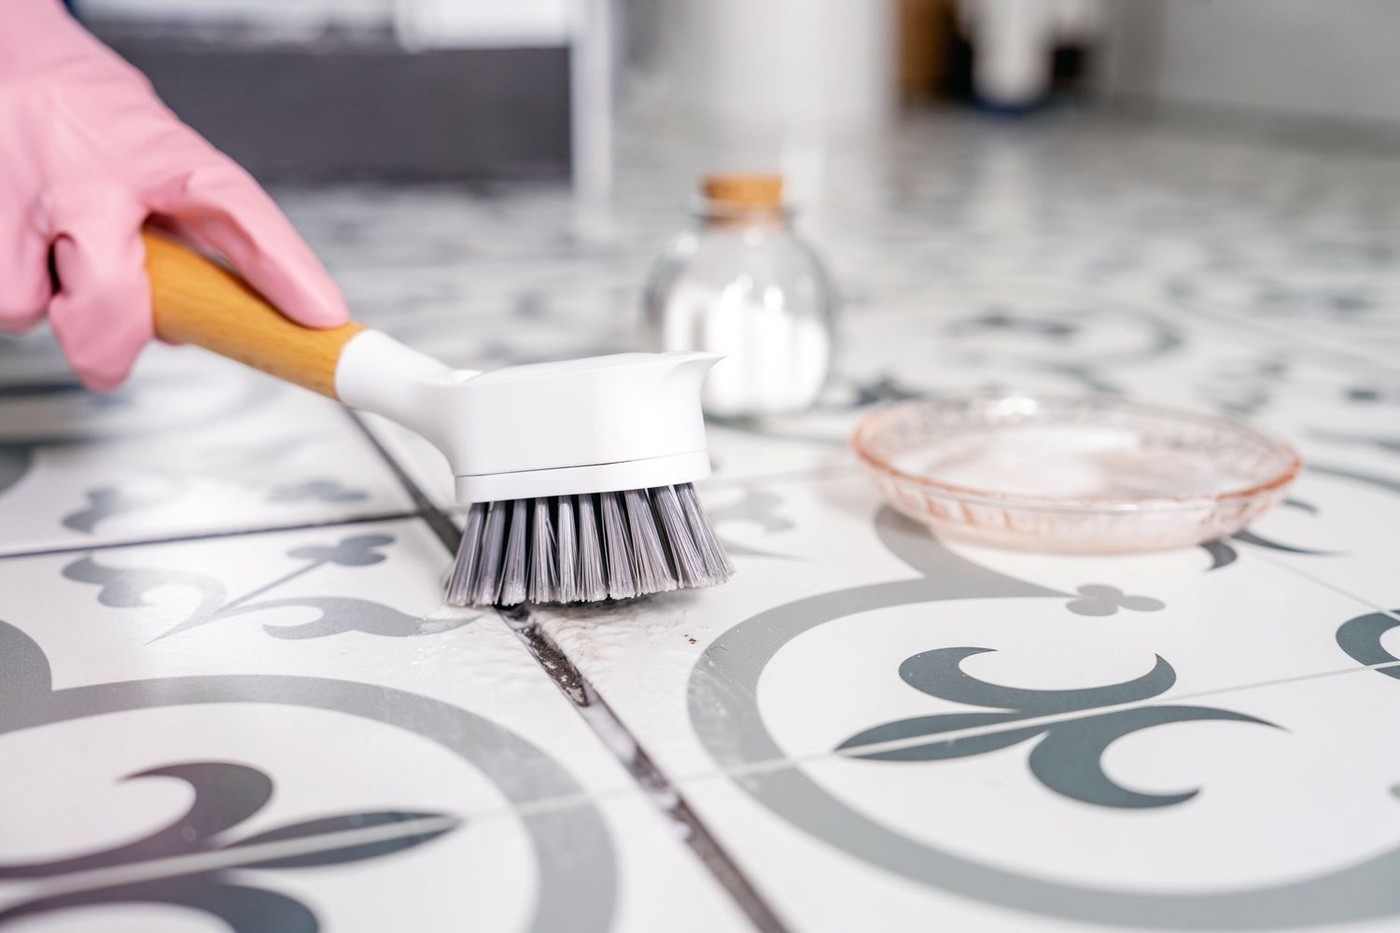
Better Homes and Gardens' bathroom-floor guide begins with loose hair and dust around edges and the toilet before moving to washing, grout care, and drying. Its material cautions include avoiding vinegar on vulnerable natural stone. This is a reason to identify both the tile and joint material before choosing a cleaner, rather than borrow a grout recipe in isolation. Plan a path toward the exit and complete the permitted drying process so the finished floor remains usable and undisturbed.
Remove loose dirt before washing
Better Homes and Gardens recommends sweeping bathroom floors, including edges and the area around the toilet, before dealing with wet cleaning. This prevents loose hair and dust from becoming harder to collect. Use a method suitable for the particular tile and grout, then remove excess moisture rather than leaving the room wet.
Check protection and ventilation
The guide warns against combining bleach with ammonia or other cleaners and discusses gloves for skin protection. An exhaust fan vented outside can help control bathroom humidity. Read the cleaning product's precautions and surface restrictions before use; gloves and fresh air complement those instructions rather than making an unsuitable chemical or mixture safe for every bathroom material.
Keep floor, grout and sealer decisions separate
BHG begins with removing loose hair and dust around edges and the toilet base, then addresses wet washing and drying. Its grout section specifically warns against vinegar on natural stone such as marble, slate or granite. A cleaner needs to suit both joint material and neighboring tile, rather than only the visible stain. If resealing is needed, use the grout or stone maker's preparation, drying and product directions; a universal interval from a general article is not enough. Work toward the exit so the newly cleaned floor remains undisturbed. Complete ventilation and drying without assuming that skin protection makes an otherwise incompatible chemical suitable.
Identify the floor and the joints before wet cleaning
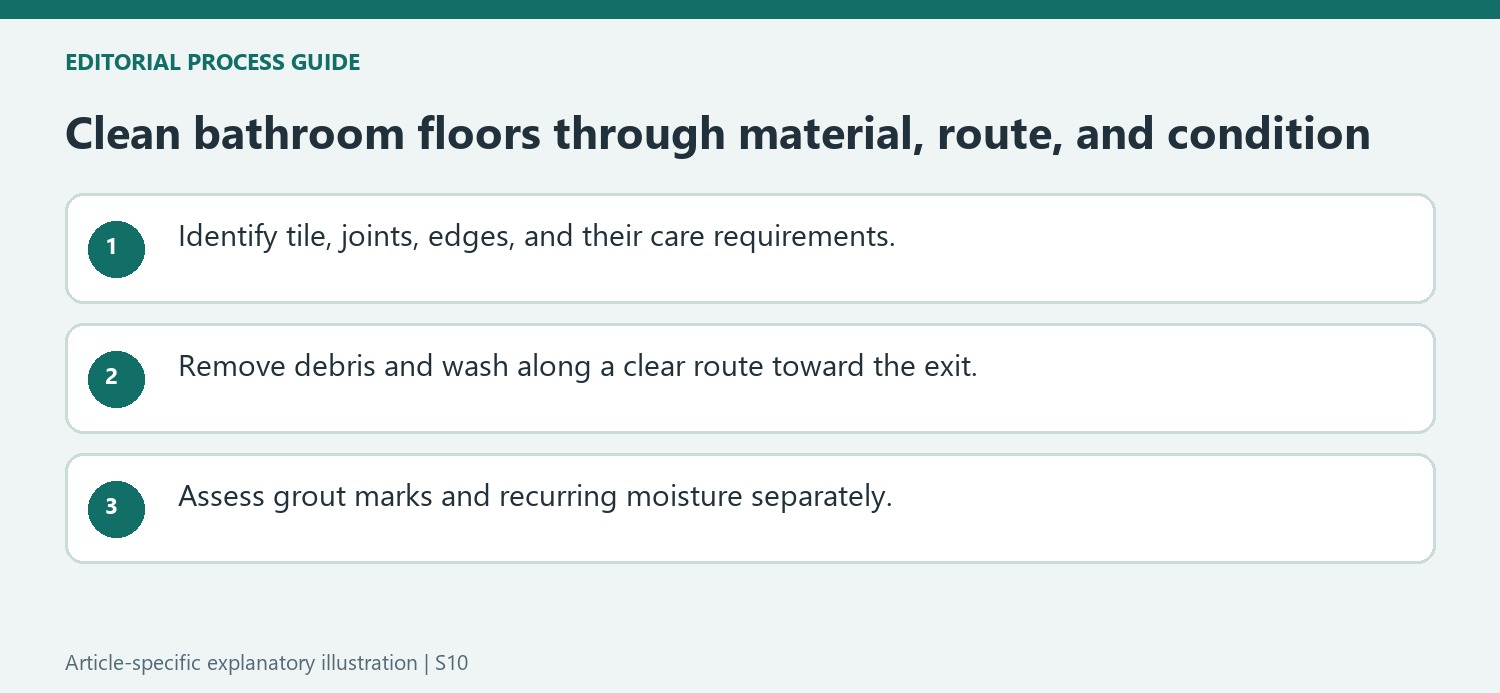
A bathroom floor can contain several materials even when it looks like a single tiled surface. Tile faces, grout lines, transition strips, and the edges around fixtures may tolerate different amounts of moisture and different cleaners. Identify those materials before applying a general recipe. Natural stone in particular should not be assumed to accept an acidic household mixture. Follow the flooring and product instructions for both cleaning and any later sealing task. If the floor includes damaged seams or an uncertain coating, resolve that limitation before flooding the area. More liquid is not automatically a better method for removing bathroom soil.
Control the order and the route through the room
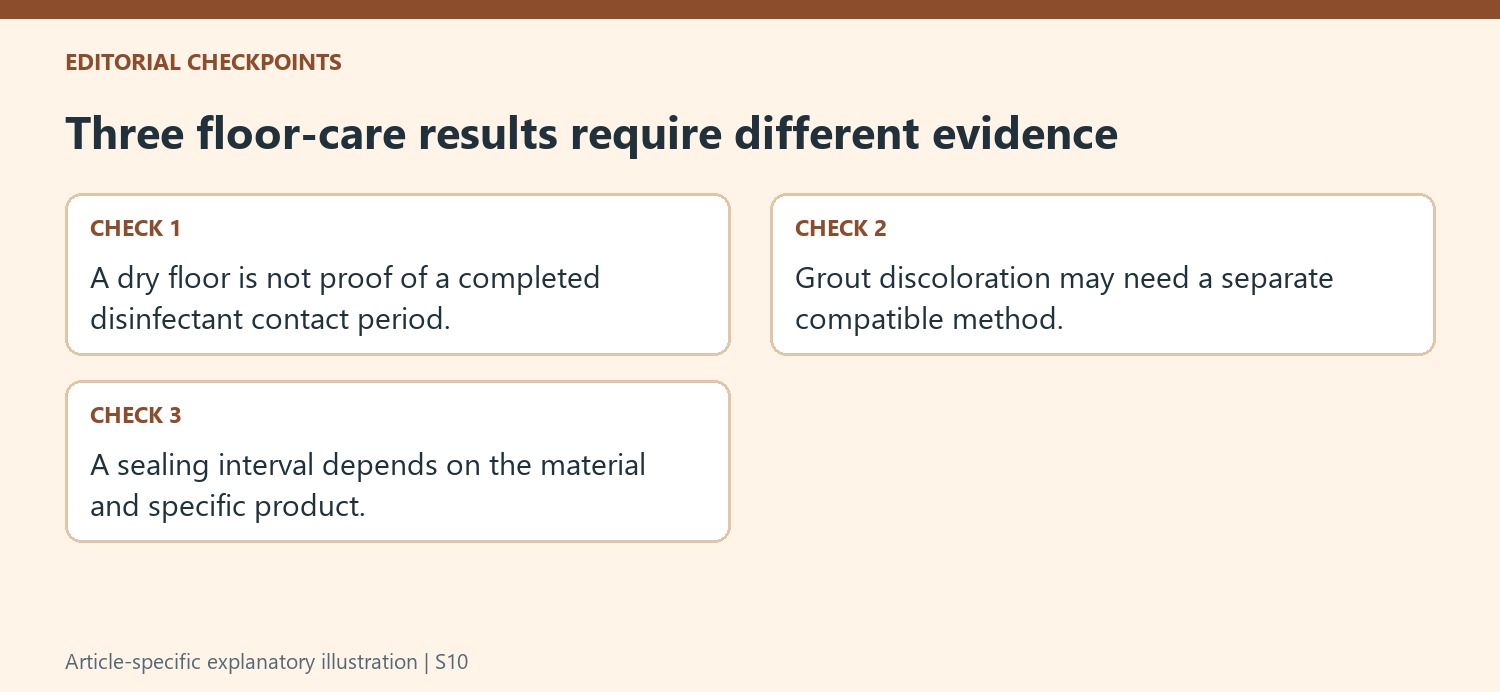
Remove loose hair and grit before the washing stage, including the awkward space around the toilet base and room edges. Use tools that reach those locations without damaging adjacent fixtures. Plan a route from the farther area toward the exit so the cleaned section does not become a repeated walking path. Apply the suitable floor method in manageable areas and collect residue as directed. Keep the amount of water appropriate to the assembly. Drying or allowing the specified drying period helps return the room to use safely, but a dry appearance alone does not establish that a disinfection procedure has been completed.
Treat persistent marks and moisture as separate decisions
Grout that still looks discolored may need its own compatible cleaning process rather than another full-floor wash. A labeled disinfectant, when appropriate, has separate application and contact requirements; do not infer those from an improvised dilution. Sealing decisions likewise depend on the actual material and product, including necessary drying conditions, rather than a universal delay copied from a checklist. Check recurring damp areas for a source of water and note any deterioration. Finish by cleaning the equipment through its suitable method and storing it ready to dry. The objective is a floor maintained without avoidable surface damage, excess moisture, or a slippery route back into the room.
References
- Top Tips for a Sparkling Bathroom Floor. Better Homes & Gardens; Caitlin Sole.
Better Homes and Gardens' bathroom-floor guide begins with loose hair and dust around edges and the toilet before moving to washing, grout care, and drying. Its material cautions include avoiding vinegar on vulnerable natural stone.


Leave a Comment
Comments (0)