
Homes & Gardens' kitchen checklist starts with cabinets and recommends moving from higher areas downward. Removing contents and liners provides access to interior debris, while cabinet tops also need attention where they do not meet the ceiling.
Choose a cleaner suited to the finish and allow surfaces to dry before replacing items. Continue with lower work areas and leave the floor until falling debris has been collected. The sequence reduces repeated work, while food-contact surfaces still need the specific rinsing or sanitizing required for their use.
Prepare each cabinet before wiping
The source begins with upper cabinets because debris from high surfaces will otherwise land on work already finished. Empty a shelf, remove its liner if present, and lift out loose crumbs before wiping. Use a product suitable for the cabinet finish, then allow the interior to dry before returning food or utensils. Review expired supplies while the shelf is accessible.
Give appliances their own instructions
A kitchen contains several different cleaning systems, even when the doors share the same finish. The source distinguishes dishwasher filter care from oven cleaning and the maintenance of small countertop appliances. Consult each manual for removable components, suitable products and reassembly. Keep electrical parts away from washing water, and avoid treating a general kitchen checklist as approval for every cleaner or steam attachment.
Leave the walking surface until last
After cabinets, equipment and counters, remove waste and address the floor. Sweep or vacuum loose material before using the floor's recommended cleaning method. The source suggests working back towards the exit to avoid crossing the newly cleaned area. Use the amount of moisture appropriate to the floor, and keep food-contact cleaning requirements distinct from the treatment of bins, handles and flooring.
Plan the session around safe food and storage access
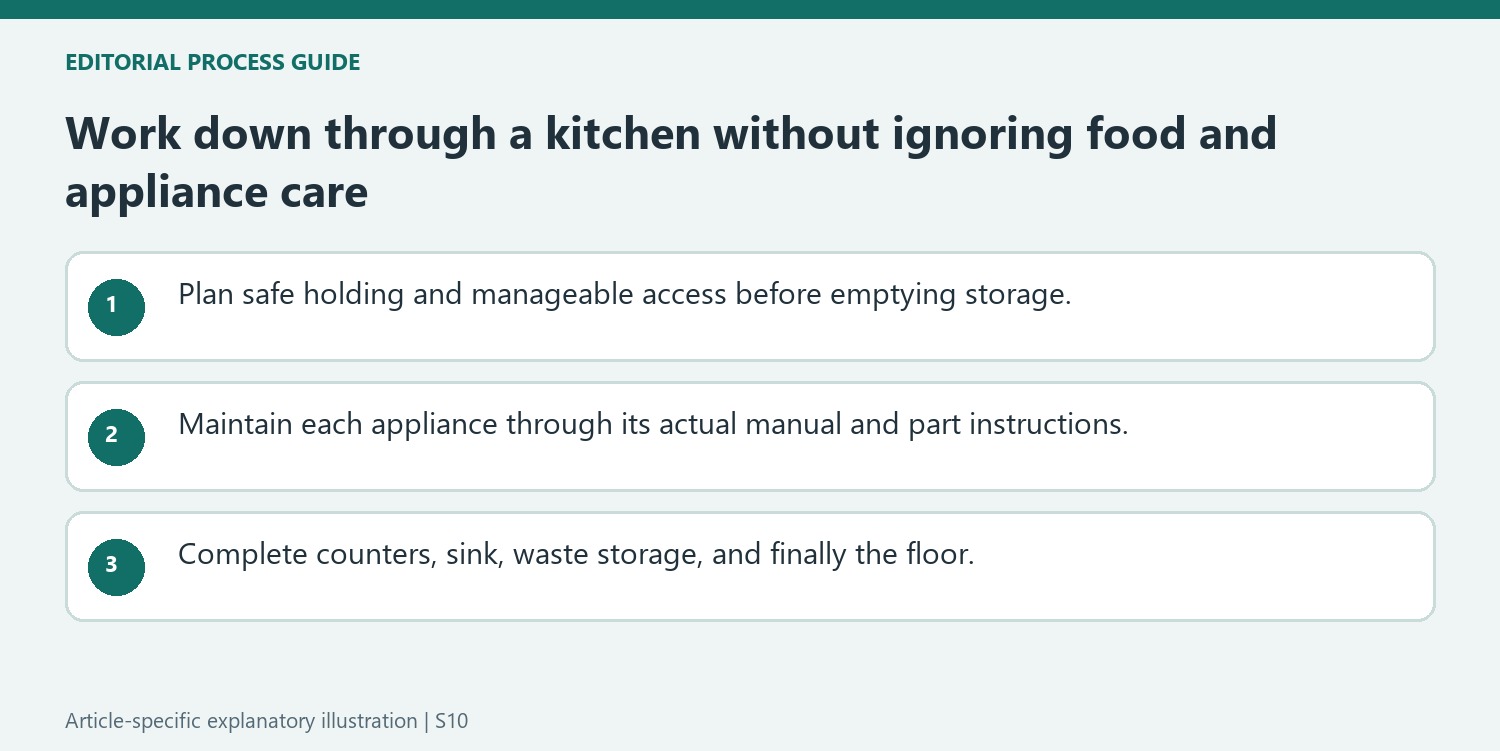
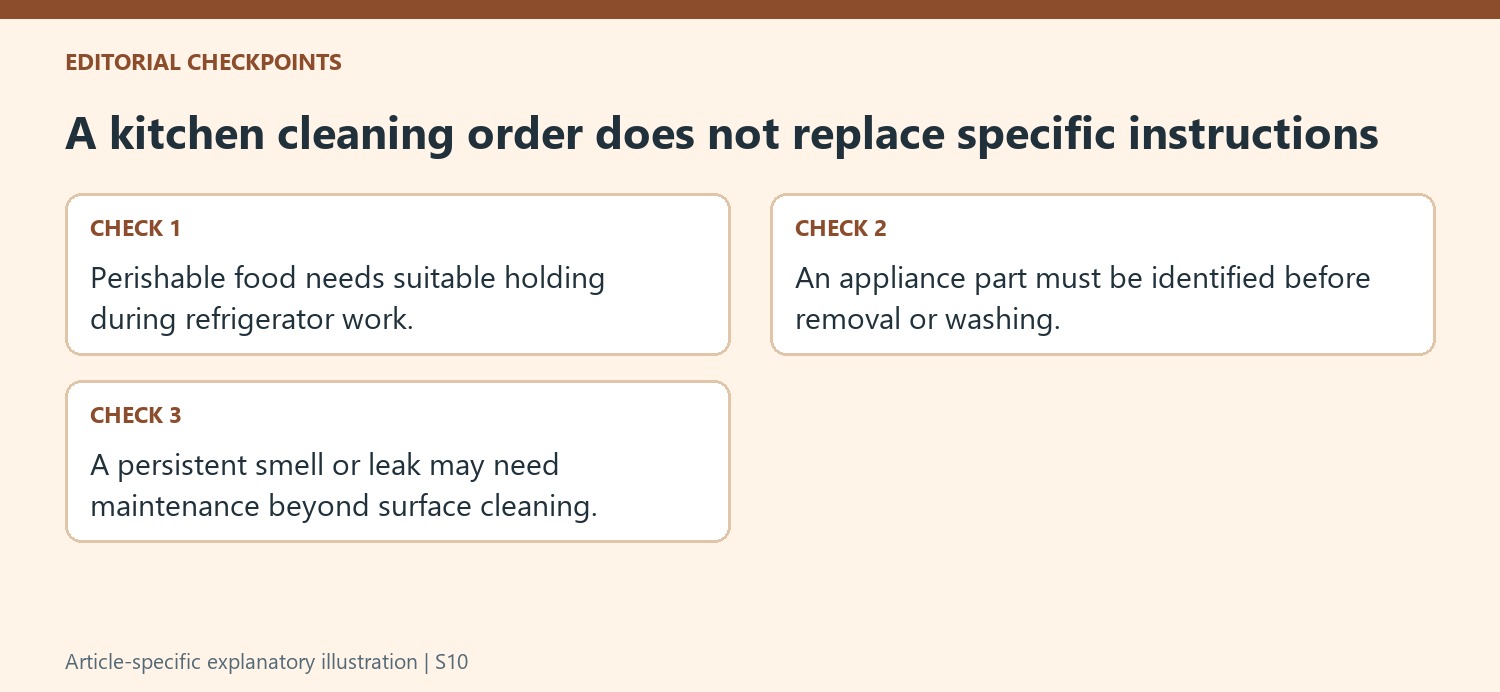
The source begins with upper cabinets and progresses through appliances, counters, the sink, waste storage, and the floor. Identify the tasks that actually apply to the kitchen before emptying several areas at once. Work on a manageable cabinet section, protect the contents appropriately, and let cleaned surfaces dry as directed before restocking. Keep food-contact items away from dirty tools and cleaning products. If the refrigerator or freezer is included, plan suitable temperature-controlled holding for perishable contents rather than leaving them exposed while other rooms are cleaned. Check the appliance manual before defrosting, moving, or disconnecting equipment; the general checklist does not describe every installation.
Use the appliance manual to choose the process
A dishwasher filter, hood filter, cooktop, oven, and small countertop appliance have different constructions. Confirm whether a part is removable and washable before taking it out. Follow the relevant power, cooling, cleaner, rinsing, and reassembly instructions. The source itself notes that some appliance makers exclude vinegar, so a household ingredient should not be treated as a universal descaler or cleaner. Nor should a steamer be used inside an appliance simply because a general feature mentions it. Choose the approved method for the actual equipment and avoid combining products. A reminder to clean behind an appliance also needs a safe access plan, not an instruction to pull a connected heavy unit blindly.
Finish the lower surfaces without undoing earlier work
Cleaning the hood before the cooktop and higher storage before counters helps collect falling debris later in the sequence. Identify counter and sink materials before selecting a cleaner; neighboring stone and decorative fixtures can change what is suitable. Keep any needed food-contact sanitizing step distinct from ordinary soil removal and follow the relevant product directions. Complete the waste-container task before the floor, using suitable handling and allowing components to dry as required. Remove loose floor debris and use the care method appropriate to the flooring. Return belongings only after the surfaces are ready. Record any persistent smell, leak, or damaged component for maintenance rather than masking it with fragrance or treating repeated cleaning as proof that the underlying issue is resolved.
References
- How to clean a kitchen like a pro – 10 top-to-bottom steps from cleaning experts for the ultimate hygienic cooking space. Homes and Gardens; Thea Babington-Stitt.
Cleaning higher storage first can avoid dropping dust onto finished lower surfaces.


Leave a Comment
Comments (0)