
Homes & Gardens' grout guide distinguishes light surface marks from deeper staining. For lighter deposits, it suggests beginning with a gentle cleaning approach and using a small brush where a cloth does not reach the tile lines.
Check the tile and grout manufacturer's approved products, especially around natural stone and sealed surfaces. Rinse residue and avoid damaging weakened joints with excessive pressure. Persistent discoloration in a damp bathroom may also require better moisture control or repair, rather than simply repeating a more aggressive cleaner.
Identify the joint and surrounding tile
Grout is only part of the surface being cleaned. The source cautions that acidic products can affect cement-based joints and may also harm nearby natural stone. Begin light marks with an appropriate mild treatment and a soft cloth or small brush. Inspect weak or missing grout first, because stronger scrubbing cannot restore a joint that already needs repair.
Lift dirty solution out of the work
For deeper cleaning, use a compatible grout product according to its directions and remove the resulting dirty liquid. The article describes a wet-and-dry vacuum as one possible extraction tool; that does not authorize water pickup with an ordinary dry vacuum. Rinse as required and keep the brush pressure controlled. A powered brush can be too aggressive for fragile joints even when the tile looks robust.
Reduce the next round of damp buildup
The source links ongoing bathroom care to water removal and ventilation. Wiping or squeegeeing the shower after use leaves less moisture sitting on joints between cleaning sessions. Avoid oily or waxy cleaning residues that can leave a film. If discoloration remains alongside crumbling, gaps or failed joints, consider whether renewal is needed instead of repeating increasingly strong treatments on the same area.
Assess the grout and adjacent tile as one cleaning area
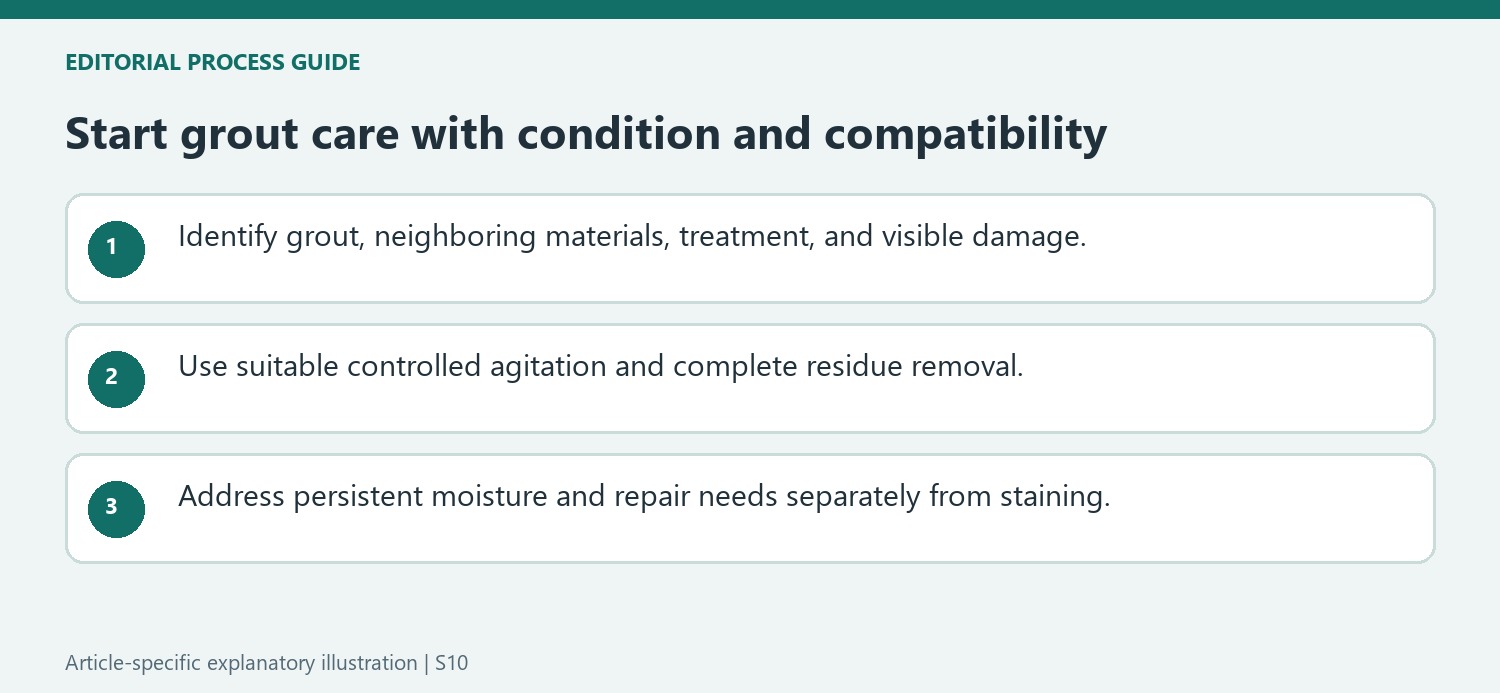
The source distinguishes lighter residue from deeper staining, but the first decision is compatibility with the actual installation. Identify the grout type, its condition, neighboring tile or stone, and any existing treatment. A cleaner intended for one cement-based joint may not suit a different grout or a sensitive stone edge. Check the relevant product and material directions before application. Begin with the gentlest suitable method for the observed soil rather than copying an entire sequence of increasingly strong recipes. Look for loose or deteriorated areas before applying force; a damaged joint needs an appropriate repair decision instead of a more determined attempt to make it look uniformly white.
Control agitation and residue removal
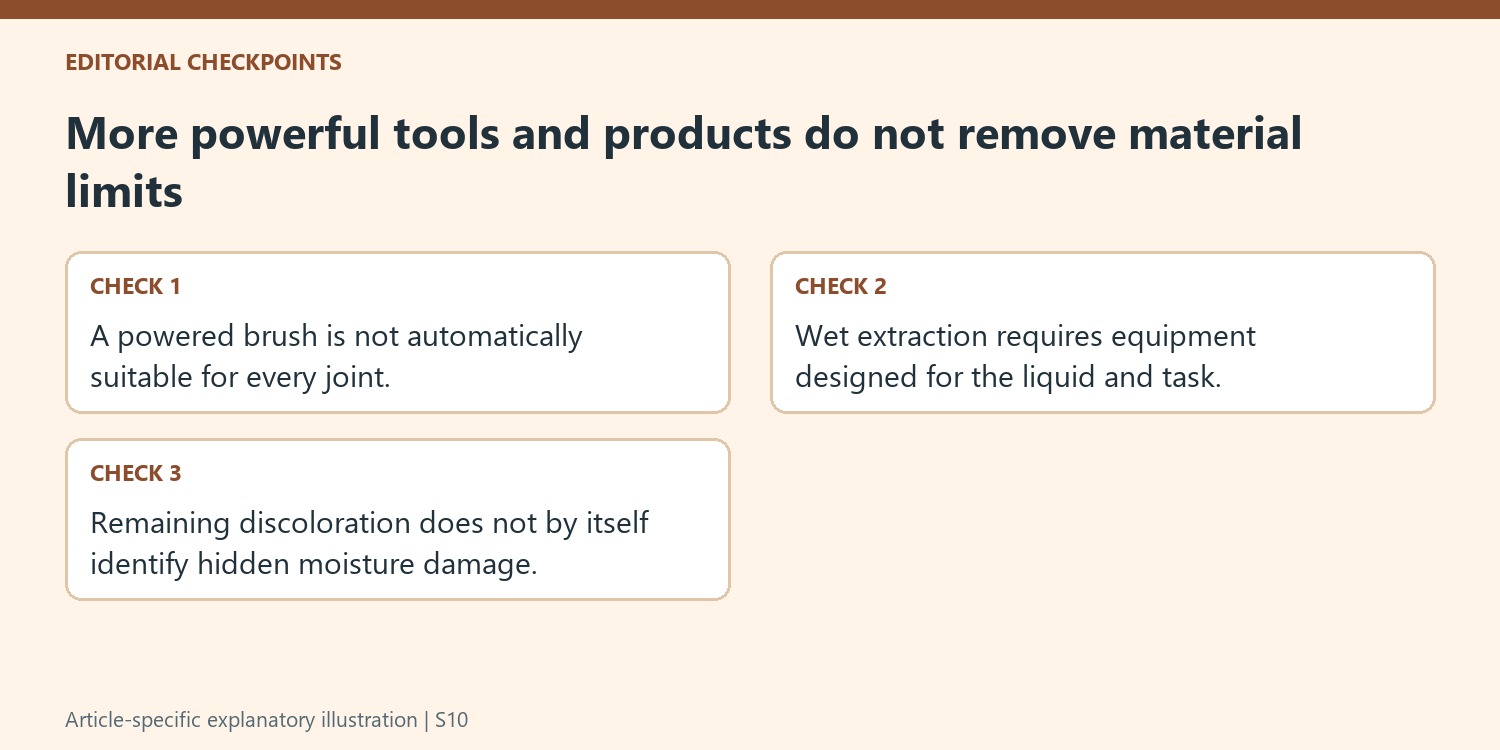
A suitable small brush can focus work along the joint, but stiffness, pressure, and powered attachments need to match the material's limitations. A drill brush is not automatically safe for every tiled assembly. Follow the selected cleaner's application and removal directions and keep incompatible products separate. If wet extraction is part of an approved method, use equipment designed for that liquid and task; an ordinary dry vacuum is not a substitute. Rinse or remove residue as required so a remaining film does not become the next cleaning problem. Work through an accessible manageable area and inspect the response before repeating. Do not assume a peroxide or household mixture is universally safer because a quoted cleaner prefers it.
Distinguish persistent discoloration from moisture and repair needs
The source encourages reducing excess shower water and improving suitable ventilation. Those habits can support maintenance, but persistent dampness or recurring growth still calls for attention to the underlying condition. A dark mark alone does not establish exactly what it is or how extensive a problem may be behind the surface. Seek appropriate assessment when the area is damaged, repeatedly affected, or beyond ordinary manageable care. Avoid acid where the grout or neighboring material excludes it, and do not mix treatments experimentally. Any later sealing decision depends on the actual grout, product, drying requirements, and condition. The practical endpoint is a suitably cleaned and assessed joint, not a promise that every original stain can be removed without repair.
References
- How to clean grout – for perfect tile lines. Homes and Gardens; Sarah Warwick.
Porous grout can collect stains while strong scrubbing risks making its condition worse.


Leave a Comment
Comments (0)